Sourdough Made Simple: Bake Delicious Bread at Home
Do you dream of enjoying fresh-baked sourdough bread but think it's too complicated? Think again! Sourdough bread may have a reputation for being tricky, but it's actually quite achievable for home bakers of all experience levels.
- Entrefemme
- May 14, 2025
- 0 Comments
- 2471 Views
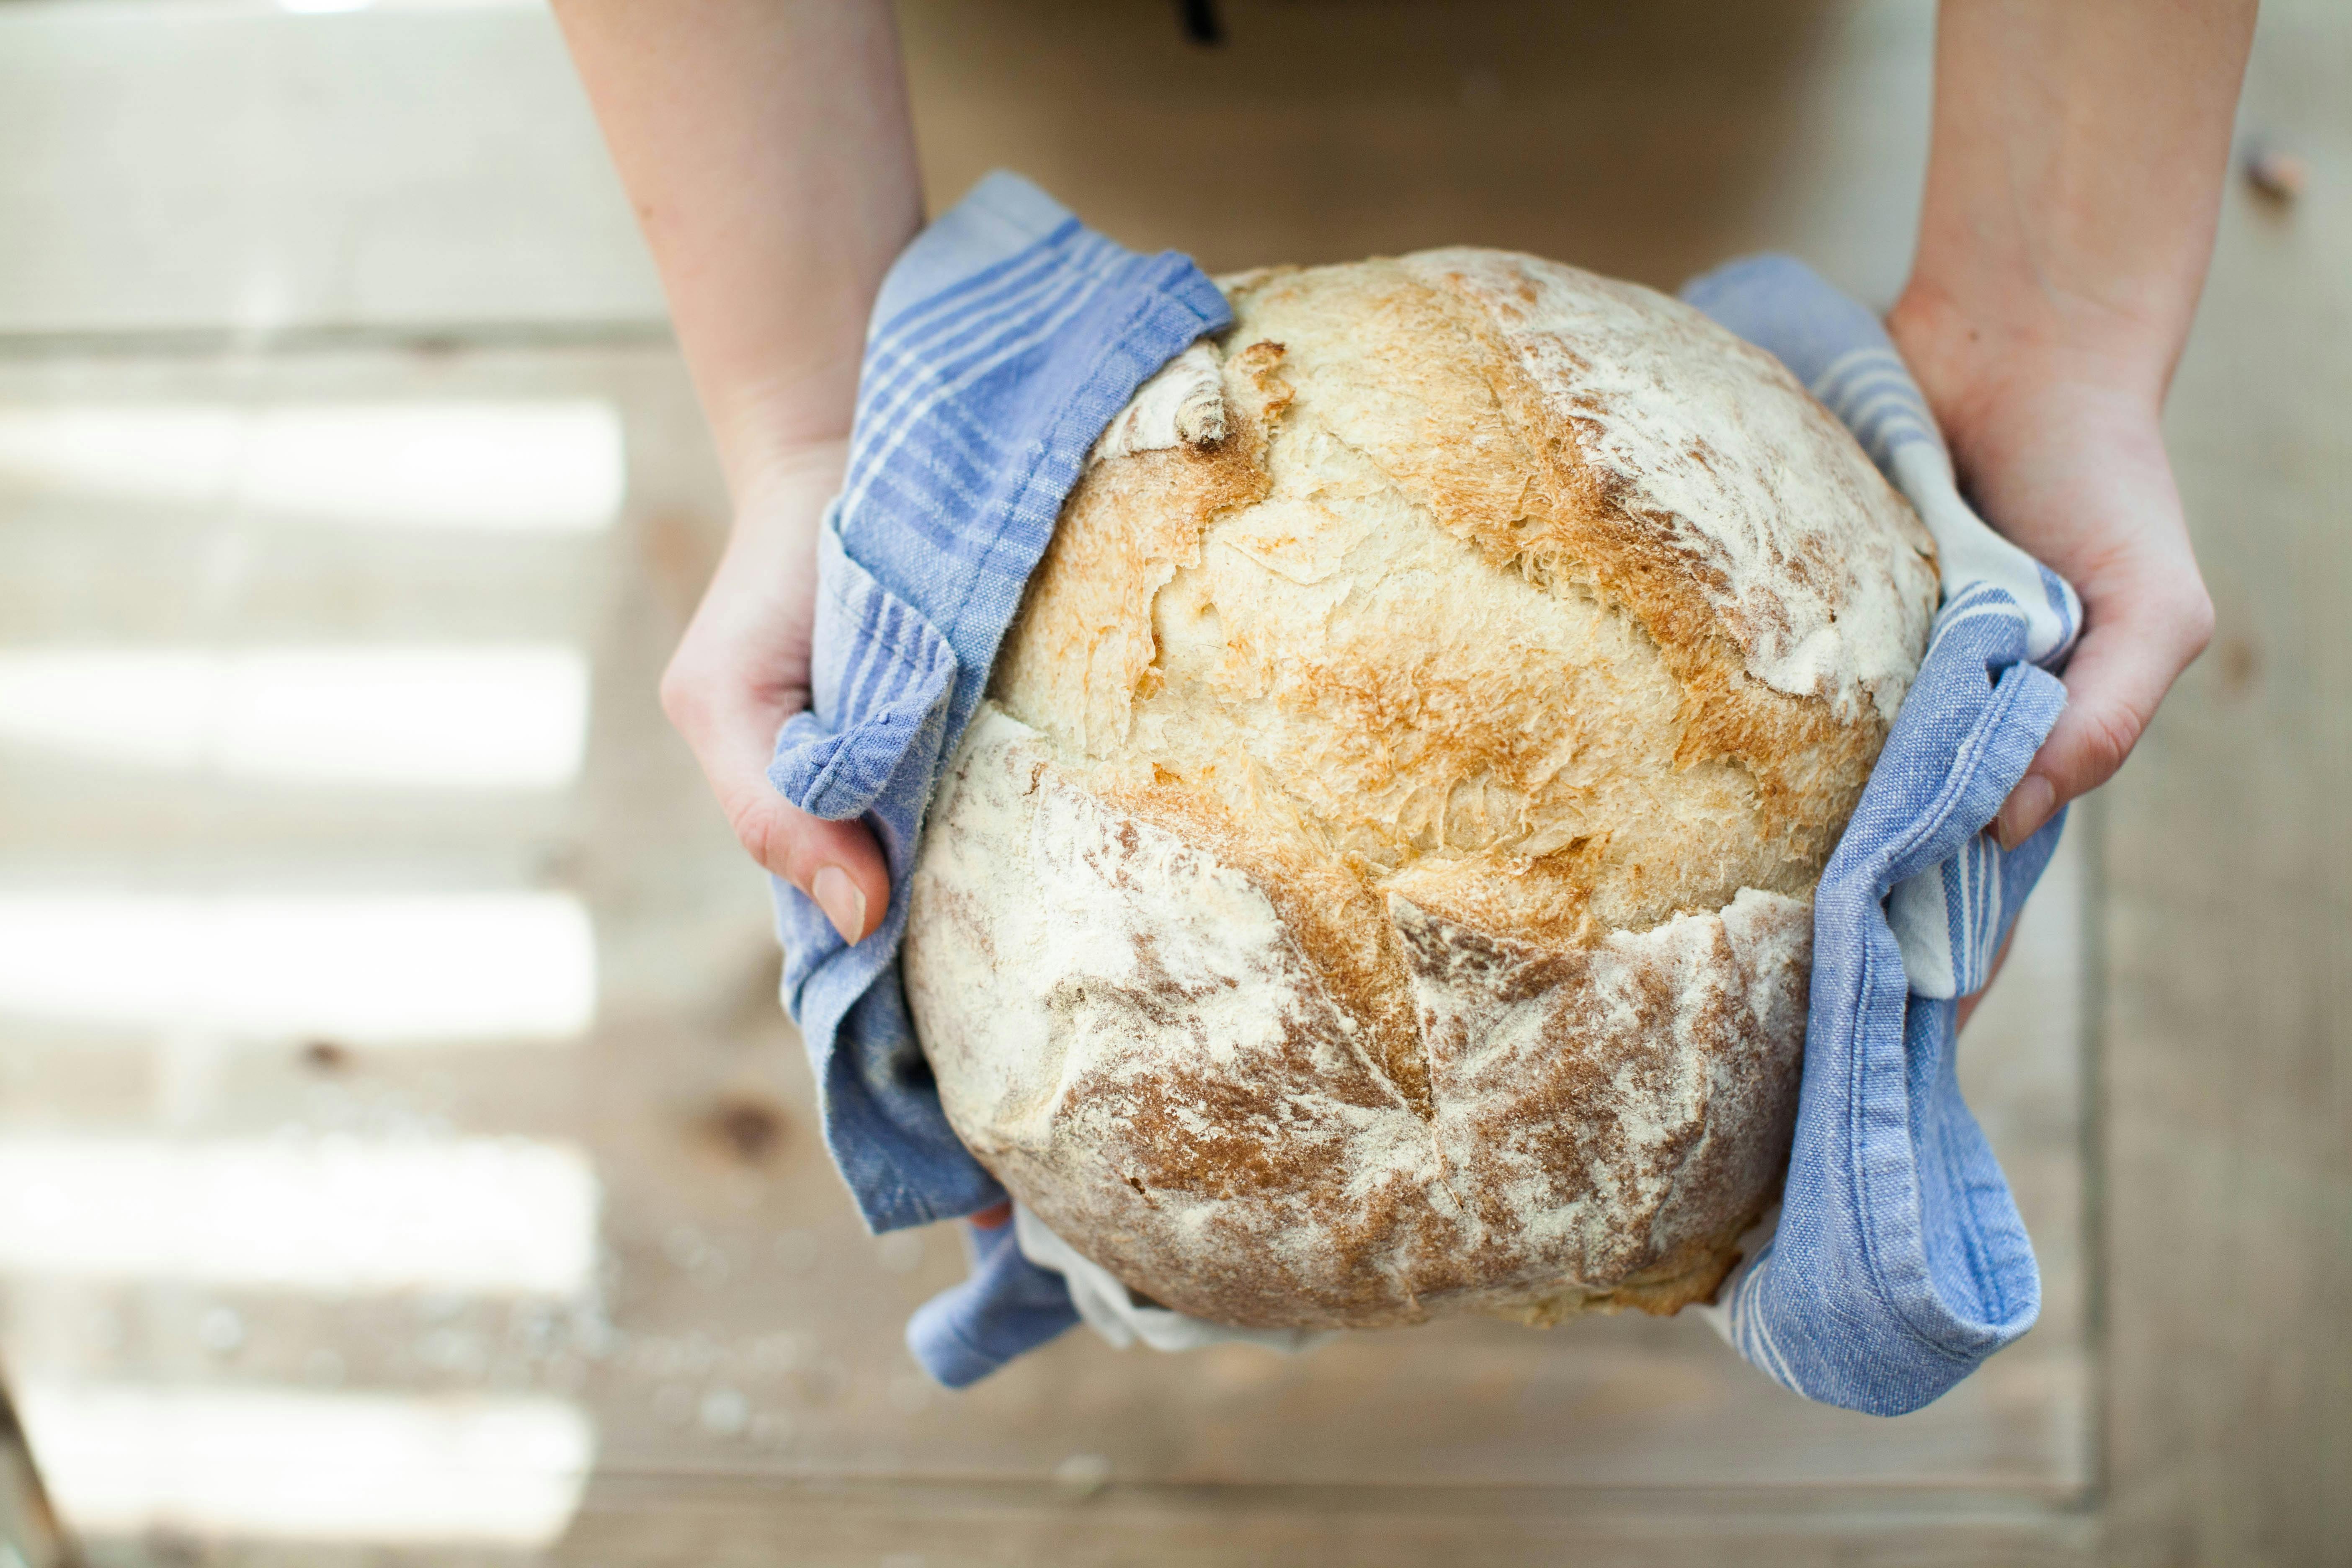
This article is your guide to sourdough made simple. We'll break down the process into easy-to-follow steps, ditch the complicated techniques, and show you how to bake delicious sourdough bread you'll be proud to share. Get ready to impress your family and friends with homemade loaves that are crusty on the outside and soft and flavorful on the inside!
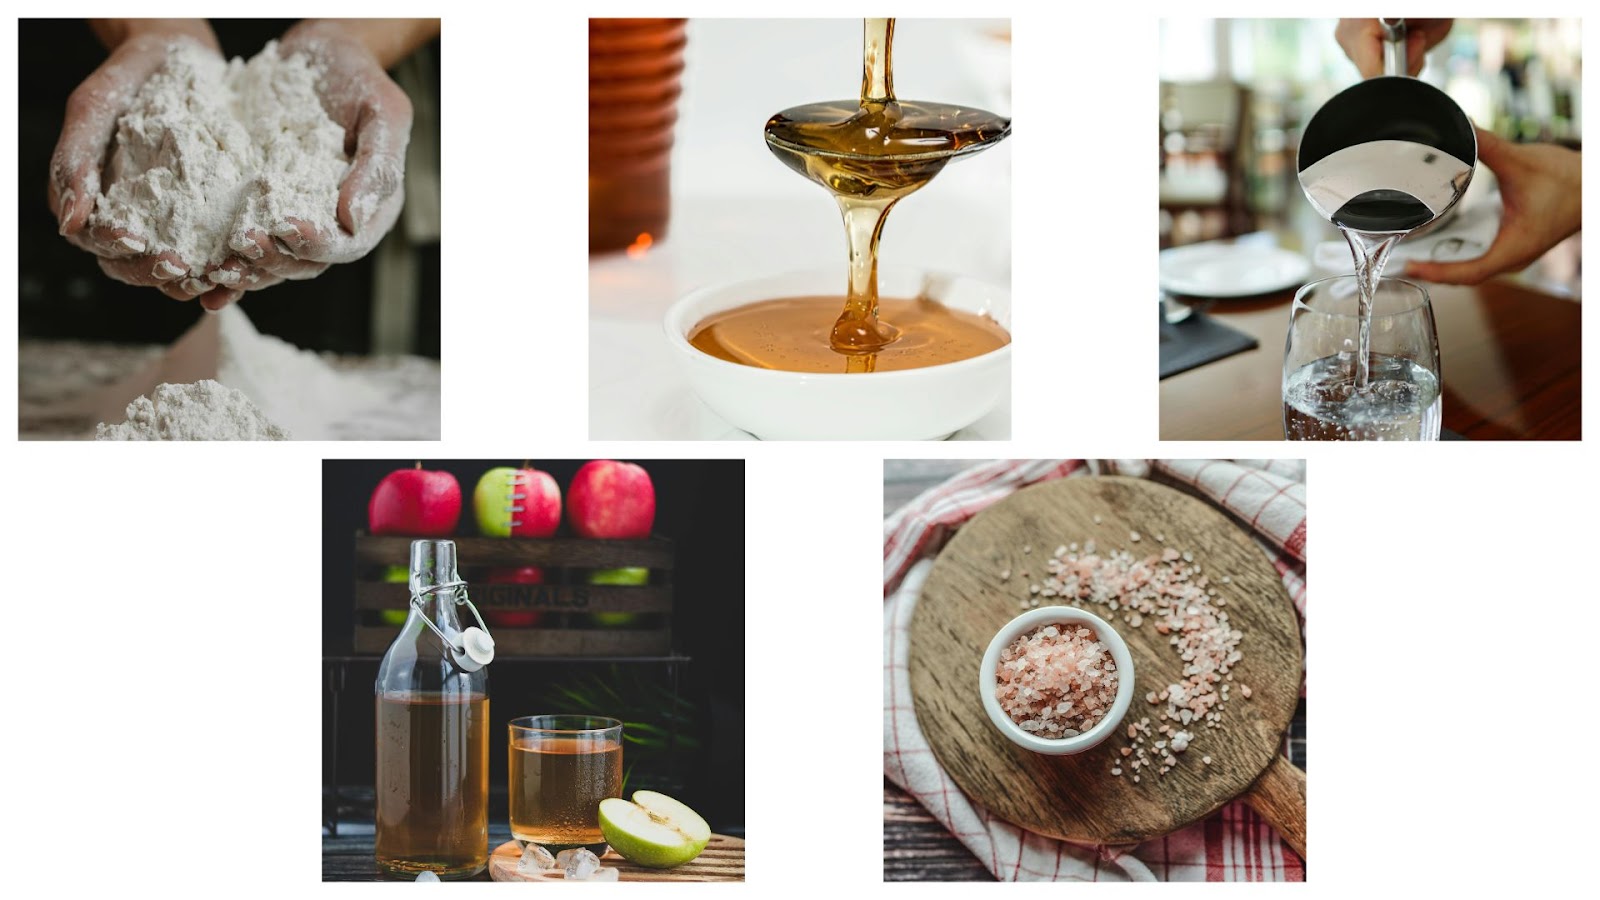
I. Ingredients:
- 500g flour
- 350g water
- 80g sourdough starter
- 10g salt
- Apple cider vinegar (optional)
- Honey (optional)
II. Utensils:
- Bowl
- Spoon
- Plastic wrap
- Kitchen towel
- Work surface
- Parchment paper
- Pot
II. Preparation of the Sourdough Starter
III. The preparation can take four days or more to prepare your starter. Patience is required.
1. Day 1
In a jar or bowl, pour 20g of flour (whole wheat or white), then add 10g of water and 10g of apple cider vinegar. If you don't have apple cider vinegar, you can use alcohol or wine vinegar. Then add a teaspoon of honey and mix everything. Cover the jar with cheesecloth or a towel held with an elastic band. Let your jar rest away from light in a cupboard or elsewhere for 24 hours.
NB: Many do it without vinegar and honey, so you can do it if these ingredients are missing. Why use vinegar, then? To improve fermentation. Tests without vinegar are not always as satisfactory, so it's up to you. The same goes for honey; you can replace it with sugar if there is none.
2. Day 2
We will add twice the amounts from the day before, namely:
- 40g of flour
- 40g of water
Mix everything and let it rest again for 24 hours in a cupboard.
3. Day 3
You should generally see the progress of the fermentation through the appearance of tiny bubbles on and inside your starter. So, we will continue to feed the starter:
- 80g of flour
- 80g of water
Mix, then replace the cheesecloth and put it back in the cupboard.
4. Day 4
As I mentioned, preparing a starter can take more than four days and sometimes up to 7 days. Factors to consider include the kitchen's temperature, the humidity in the air, and the quality of the bacteria in your environment.
On the fourth day, you should smell a fermentation odor. If your mixture is relatively liquid, touch it with a spoon, transfer it to a larger jar, and add 100g of flour without adding water. Mix and see what you get. The goal here is to have a somewhat dense texture, so depending on it, add water gradually until you get the desired result. The texture obtained on day four will also depend on the flour used.
Tip: Use two elastics, one to close the lid as already done and another to put it at the level of the current starter. It will let you know whether the starter has increased overnight. If there is no change, add flour and water until it increases.
5. Day 5
If there is no evolution in the starter, add:
- 50g of flour
- A teaspoon of honey
Why honey? To feed the starter. Indeed, yeast is full of bacteria that love sugar. Putting it in allows you to feed it and make it more active. Mix everything and assess if water is needed or not.
6. Day 6
Your starter should have risen normally. If so, do not add anything and let it rest for another day.
7. Day 7
On my side, the starter has really risen to the point of overflowing. I don't know if it's the same with you. In any case, it is ready to be used. Clean up a little of what has overflowed, and let's go. After cleaning, I added a little flour and a little water, and 1 to 2 hours later, it had risen a little more.
IV. Preparation of the Bread Dough:
- In a bowl, put the 500g of flour and 350g of water. Mix well.
- Proceed with a quick kneading.
- Cover the container with plastic wrap and a damp kitchen towel. Let it rest for 45 minutes.
- Add the salt and a little water. Wet your hands and mix gradually.
- Measure 80g of sourdough starter and add it to the dough.
- Knead by grabbing the dough from underneath, stretching it slightly, and folding it back towards the center. Repeat several times while turning the bowl.
- Cover again with plastic wrap and the kitchen towel. Repeat every 30 minutes for 2 hours.
V. Maintenance of the Sourdough:
- Close with a lid and place in the refrigerator.
- On the day you want to make bread, take out the sourdough and let it reach room temperature. Feed it with 50g of flour and a little water according to the texture, then let it rise.
- If the sourdough does not rise at all, add honey.
- If you don't plan to use it for several weeks or months, you can put it in the freezer to preserve it for up to 6 months or more.
VI. Shaping and Baking the Bread:
- After 2 hours, flour the work surface and place the dough on it. Form a first ball and cover it with a kitchen towel. Let it rest for 3 minutes.
- After 30 minutes, ensure it does not stick to the work surface by adding flour if necessary. Flatten, then fold the dough into a ball or round shape.
- In a clean bowl, generously sprinkle flour. Place the dough in the bowl and let it rest in the refrigerator for 12 hours or at room temperature for 2 to 4 hours under a kitchen towel.
- For baking, preheat a pot to 230 degrees Celsius. Add parchment paper and place the dough on it. Make incisions to allow the bread to swell during baking. Bake for 30 minutes, then remove the lid and bake for another 15 to 20 minutes until the bread is ready.
Like
1851 people like this


0 Comments